 Image 1 of 4
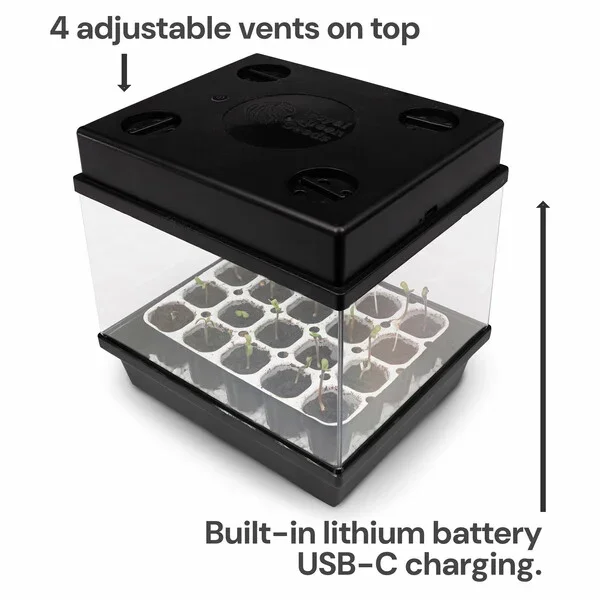 Image 2 of 4
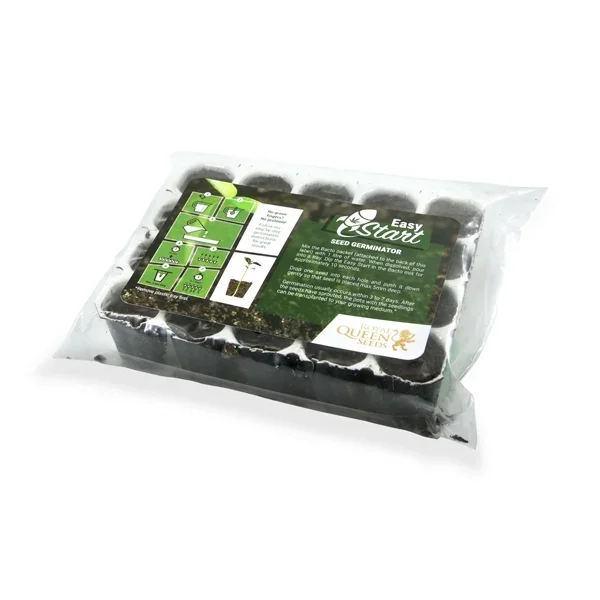 Image 3 of 4
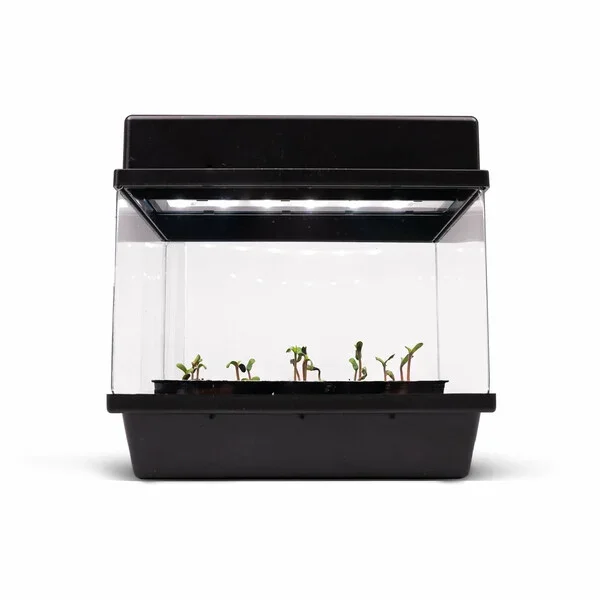 Image 4 of 4
Starter Kit Autoflower: For an Unbeatable Auto Harvest
Mastering the seedling phase is always important—especially when you're growing autos. Given their short life cycle and automatic switch to bloom, providing your autos with the strongest possible start to life is key for a solid harvest. Luckily, doing so is easy—all it takes is one of our Autoflower Starter Kits. Get yours now and master the seedling phase—just like a pro!
Top-Shelf Auto Harvests Start Here
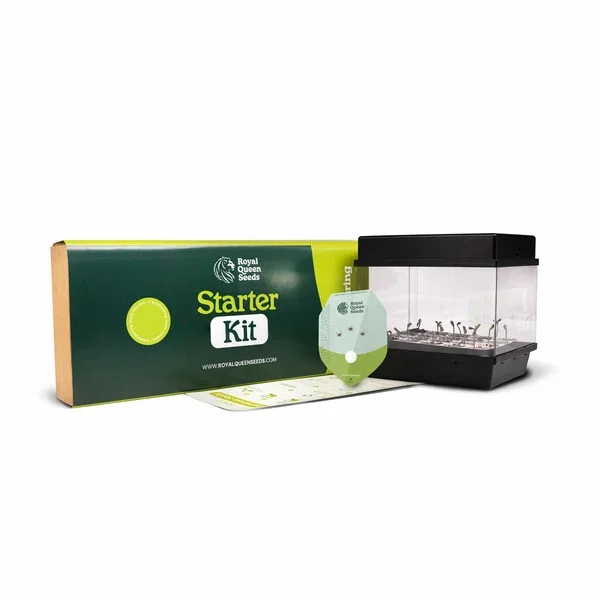
Our Autoflower Seed Starter Kit has everything you need to kickstart your next auto grow and ensure a top-shelf harvest, including:
A handy propagator—made from recycled ocean plastic and complete with cool LED lights, perfect for growing seedlings.
Perlite—to absorb moisture and promote constant humidity inside your propagator.
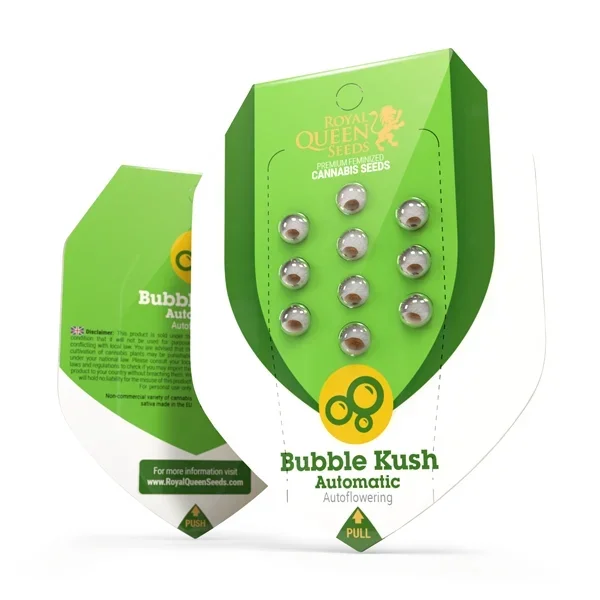
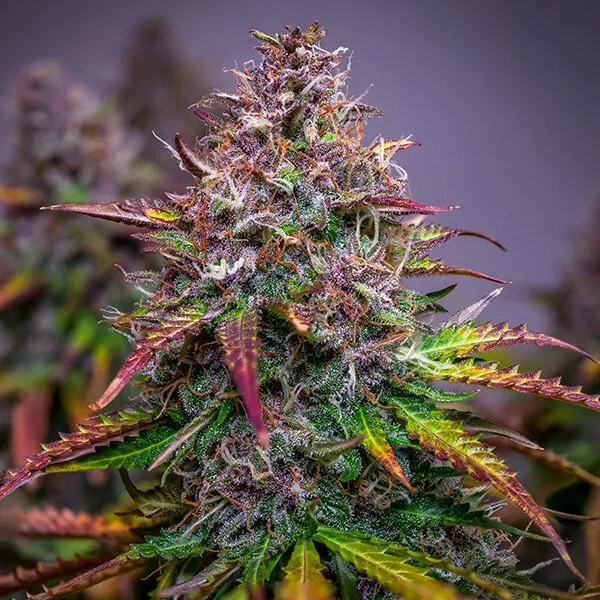
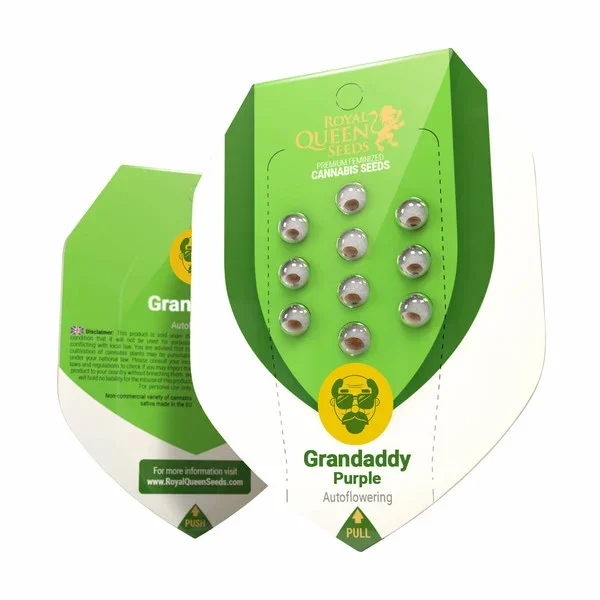
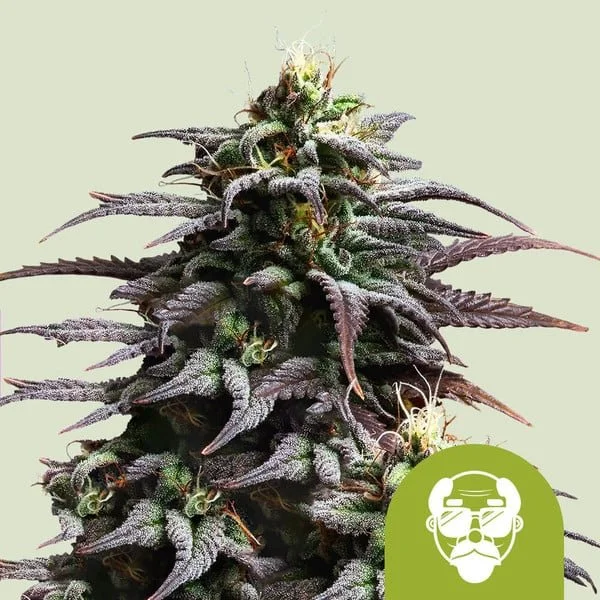
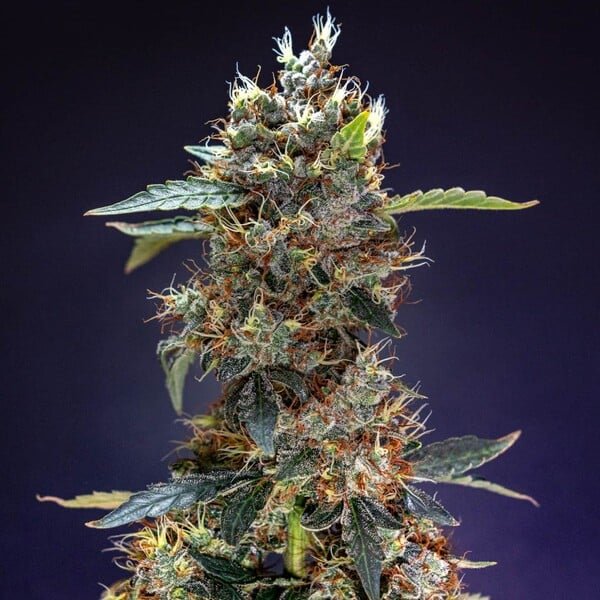
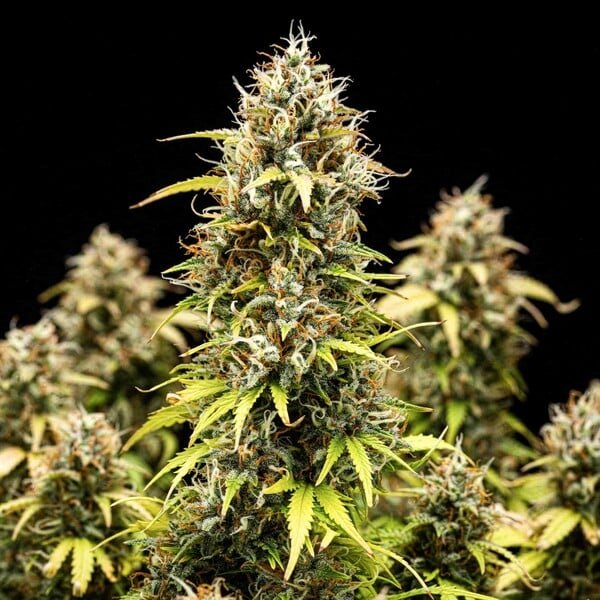
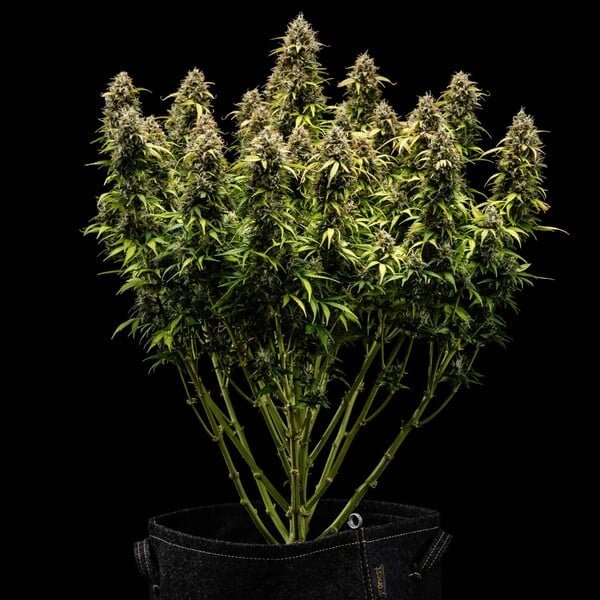
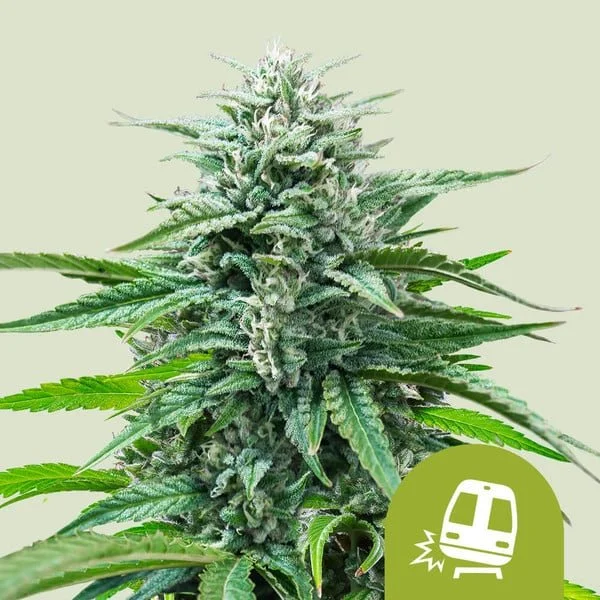
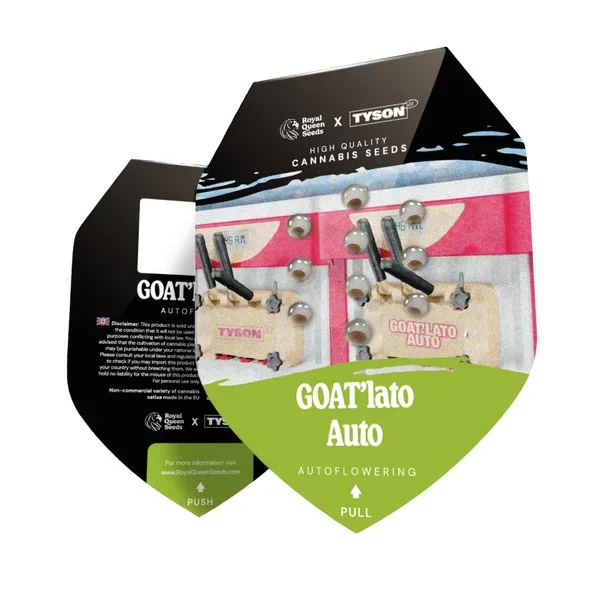
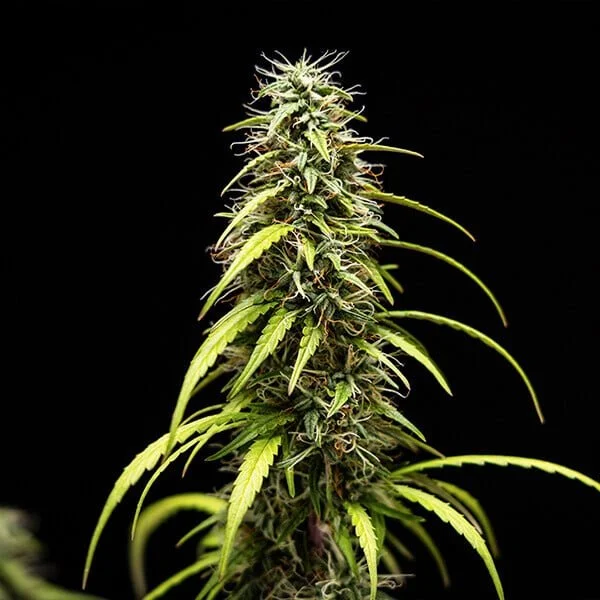
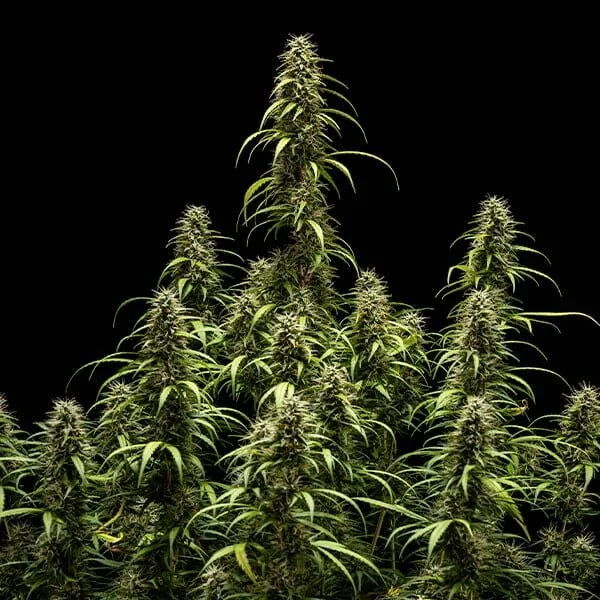
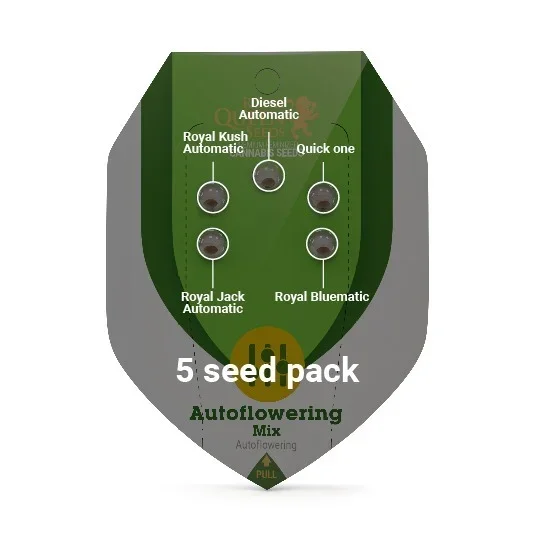
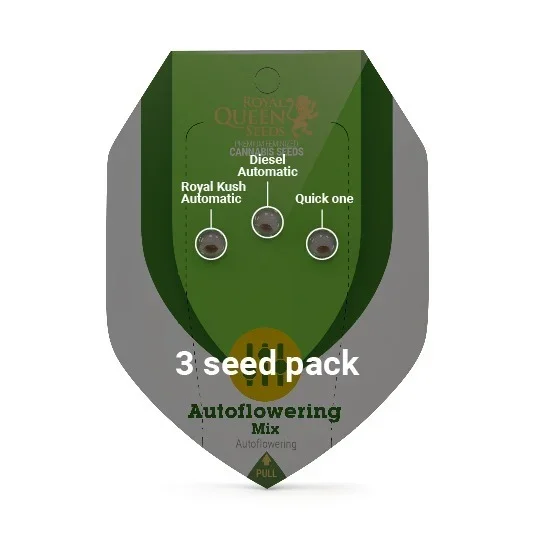
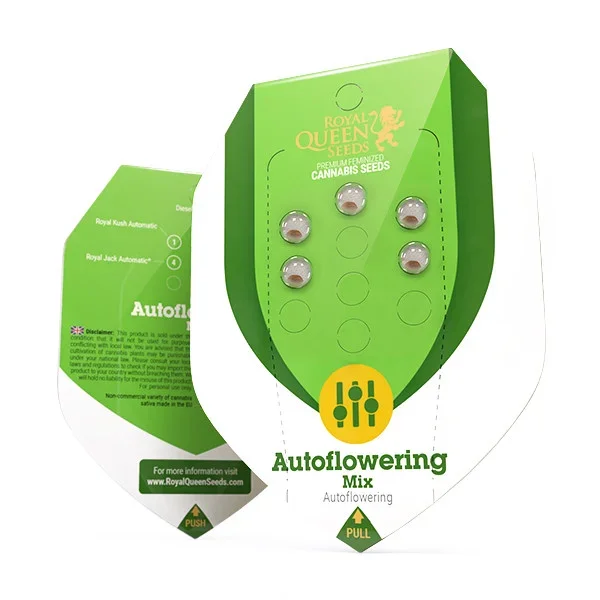
3 autoflower seeds—containing top-shelf RQS genetics.
Easy Start starter pots—complete with rich soil and germination-boosting bacteria.
Push your autos further by giving them the perfect start to life. With our Starter Kits, germinating cannabis seeds and mastering the seedling phase is simple.
Propagator Measurements
145 mm × 145 mm × 125 mm
How to Grow Healthy Auto Seedlings Using the RQS Autoflower Seed Starter Kit
Take your seeds from their packaging. Be gentle—don't try to push the seeds through the back of their packet. Instead, peel back the seal to avoid damaging them.
Open your Easy Start pots. Note that they come with a sachet of Bacto—our signature rooting bacteria. You'll find it underneath the sticker on the Easy Start packaging.
Find a large plastic tub big enough to fit the tray of Easy Start pots. Fill the tub with 1 litre of lukewarm water (22–25°C) and add your Bacto. Stir the mixture to combine everything and activate the bacteria.
Place your Easy Start pots inside the water and let them soak for a few minutes. While they do, move on to the next step.
Begin assembling your propagator by filling its base with perlite.
After your Easy Start pots are well-soaked, place them on top of the layer of perlite in your propagator. As water drips from them, it'll absorb into the perlite and help create a humid environment that seedlings love!
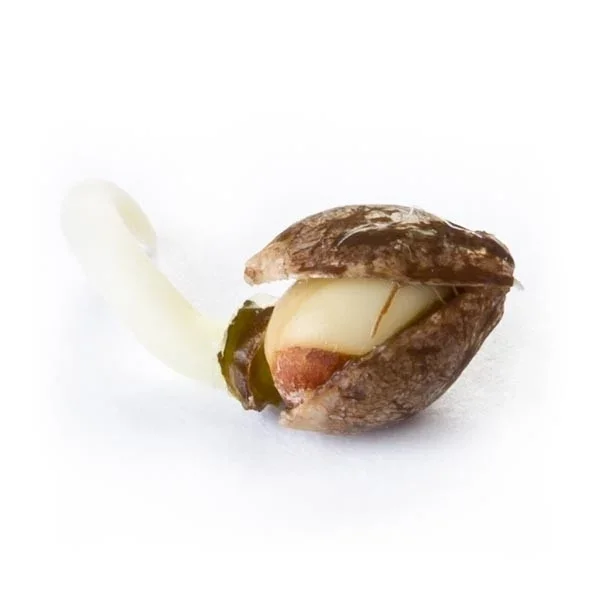
Enlarge the holes in your Easy Start pots so that they're 5–10 mm deep. Place a seed in each hole, and cover it gently with soil. Forget about whether your seeds are facing up or down—they'll automatically grow upwards towards the light once they germinate.
Finish assembling your propagator by putting up its walls and lid, as well as turning on the LED lights at the top. Then, put it aside and wait 1–6 days for your seeds to germinate.
IMPORTANT: Do not disturb your seedlings while they are germinating. Opening your propagator can cause a drop in humidity, which can slow down the germination process—or worse, cause it to fail altogether. Moreover, never uncover your seedlings to check if they've germinated—you might break their taproot, which will kill your seedlings instantly.
Once your seedlings have grown to 3 cm, transplant them into their final containers. Do so gently, and you can prepare for vigorous vegetative growth!